Friday, August 22, 2014

How to make a gluten-free chocolate cake

A chocolate cherry loaf cake that’s low calorie and gluten and dairy free – we’ve found the ideal lighter treat for the bank holiday 

By Hannah Sherwood


I’m in Bake Off mode, but with an eye on a growing baking trend – gluten-free cakes. So I’ve eschewed my usual sugar, butter, flour and chocolate cake for a lighter recipe, using cocoa and black beans…


In her book Cut the Carbs! Tori Haschka proves you can cook without white carbs and the result will still taste good, filling you up without making you feel bloated or sluggish.

Not that we’re advocating cutting out carbs – a healthy diet needs bread, pasta and rice, preferably wholegrain. Tori adopted a carb-free lifestyle for health reasons, so her book is good for people who have intolerances, particularly to gluten. She says her chocolate, black bean and cherry cake is the simplest cake ever, so I just had to give it a go to see how it compared to a standard chocolate cake.


The prep…
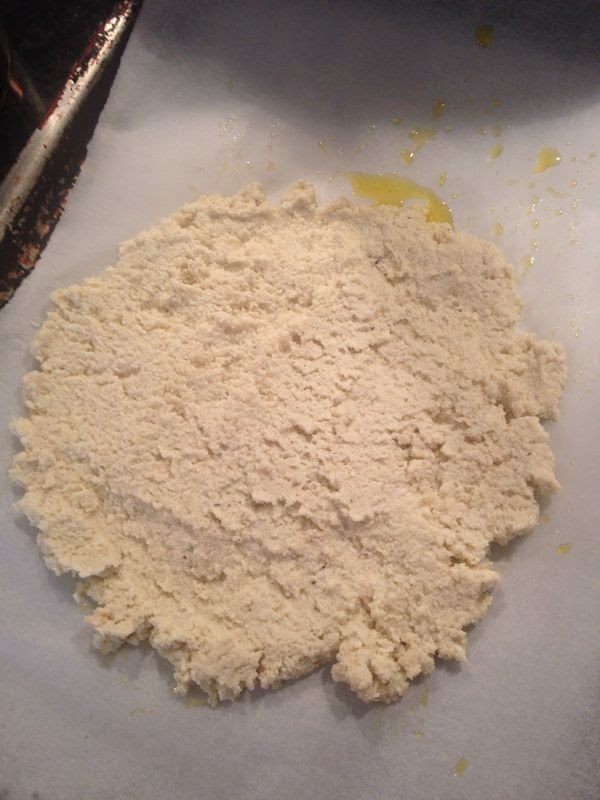
After reading the method and weighing out the ingredients, I begin to understand why Tori declares it a breeze to make; it’s a bung-everything-in-the-food-mixer-jobby (apart from the cherries) and blitz. That’s it!


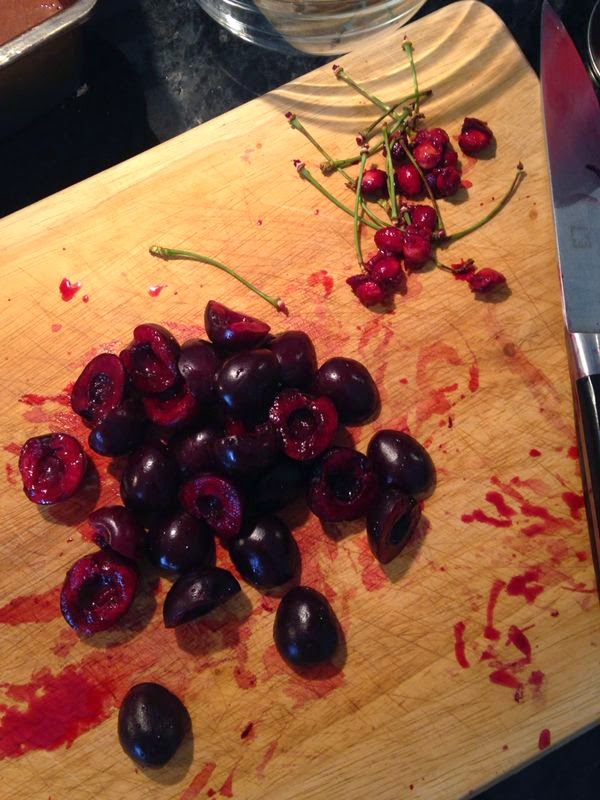
There’s no flour – instead, you use a tin of black beans (rinsed). It’s also fat free, but there are three eggs so the mixture is rather runny. Unlike some chocolate cakes, this recipe only uses cocoa powder, again helping to keep the fat and sugar levels down. The only slight labour involved was pitting the cherries, but really it was a minor task.


The bake…
The batter was runny, nothing like a normal cake batter, which is thick and creamy, so I was dubious when popping the loaf tin in the oven. 35 minutes later and it had risen slightly and smelt chocolatey and, more importantly, like I wanted to eat it! It turned out of the tin easily, almost resembling a brownie. It’s best enjoyed warm and, as Tori says, would be great served as a dessert with a small dollop of reduced-fat crème fraîche.


The taste factor
The flavour was still good the next day and if I hadn’t told the HFG team it didn’t have flour or any fat in, I’m not sure they would have guessed.

It’s a fab, easy bake and at only 97 calories a slice (based on 10 servings), could almost be classed as a cake that is actually healthy! Compared with a standard slice of chocolate cake with butter icing, you’re saving 210 calories, 15.7g fat, 5.2g saturates and 11.3g sugar…

See and enjoy the recipe here:

1 x 400g tin of black beans, rinsed
3 eggs
100g caster sugar
1 shot (30 ml) espresso or 1tbsp strong filter coffee (you can use decaf if you prefer)
3tbsp cocoa powder
1tsp baking powder (check it is gluten free if cooking for a coeliac crowd)
125g cherries, pitted (can be frozen, and you can also substitute other berries), plus extra to serve
Icing sugar, yogurt, crème fraîche or fresh cherries, to serve (optional)

Equipment
20 x 12.5cm loaf tin, greased and lined with baking paper

1 Heat the oven to 180˚C/fan 160°C/gas 4. Using a stick blender and mixing bowl, blender or food processor, combine all the ingredients except the cherries and blitz until smooth. The batter will appear quite runny, but don’t worry. Pour the batter into the prepared loaf tin and scatter the cherries over the top. Bake the loaf for 35 min, or until a skewer inserted in the middle comes out with a few fudgy crumbs on it.
2 Leave to cool in the tin for 5 min, then turn it out. Dust with icing sugar and serve warm with more cherries, yogurt or half-fat crème fraîche for dessert, or allow it to cool and enjoy it with a cup of tea.

Per serving (based on 10): 97kcal, 2.3g fat, 0.6g sat fat, 12g sugar, 0.2g salt

Low cal, low sat fat, low salt, vegetarian, gluten-free, dairy-free


Monday, August 18, 2014

How to make a cheap, healthy family supper


When ITV’s Tonight show visited the HFG test kitchen, recipe consultant Phil Mundy accepted the challenge to cook a homemade family meal that’s cheaper, healthier and quicker to make than heating up four ready meals. His dish was a clear winner for the HFG team (and the film crew happily tucked in, too!), but don’t let us sway your verdict – try the recipe below and see if you can be persuaded to swap pre-prepared for DIY dinners…


Tandoori chicken
PREP 5 MIN COOK 15 MIN SERVES 4

200g basmati rice
180ml 2% fat Greek yogurt
Zest and juice 2 limes
8tsp medium curry powder
4 skinless chicken breasts, each sliced into 3 strips
Cooking oil spray
320g frozen peas
200g baby spinach
4 tbsp mango chutney, to serve
Fresh coriander leaves, to garnish (optional)

1 Cook the rice according to the pack instructions, then drain.
2 While the rice is cooking, combine the yogurt, lime zest and juice in a small bowl. Spoon 4tbsp of the mixture into a medium bowl (set the rest aside) and mix with the curry powder, then add the chicken strips and stir to coat. Spray a large non-stick frying pan with oil and put over a medium heat. Add the chicken and cook for 7–8 min, turning once, until cooked through.
3 Meanwhile, heat a small pan, then add the frozen peas and cook over a medium-low heat for 1–2 min until thawed. Add the spinach and cook for 1–2 min more.
4 Divide the rice and vegetables among 4 plates, then top with the tandoori chicken. Add a drizzle of the remaining lime yogurt and the chutney (serve any leftovers in bowls), then serve sprinkled with ground black pepper and coriander leaves, if using.

Per serving
553kcal
58.3g protein
7.1g fat
2.3g sat fats
64g carbs
16.6g sugar
8.7g fibre
1.1g salt
291mg calcium
7.4mg iron

LOW FAT
LOW SAT FAT
LOW SUGAR
LOW SALT
HIGH PROTEIN
HIGH CALCIUM
HIGH IRON
GLUTEN FREE
1 of your FIVE A DAY


You can watch The Food We Eat: Tonight on Monday 18 August (that’s tonight!) at 8pm, ITV 


Thursday, August 7, 2014

Cauliflower’s next chapter… Pizza


By Hannah Sherwood

First it was cauliflower rice, now it’s cauliflower-crust pizza – it seems the one-time wallflower vegetable is relishing its time in the spotlight.
It may sound like a strange idea, but swapping traditional pizza base ingredients for a combination of gluten-free flour and, you guessed it, cauliflower is great if you have an intolerance, plus with just 34kcal in 100g, it’s kinder to your waistline and is a nifty way to sneak veg into the diets of fussy eaters. Cauliflower also provides fibre and is a source of potassium, good intakes of which help to control blood pressure when combined with less salt in our diet. It also helps to boost intakes of several B vitamins, including B1, B6 and folate, and is a rich source of vitamin C.

Taking my inspiration from a recipe by Jasmine and Melissa Hemsley, here’s how I got on…

The prep
Coarsely grate or whizz 140g cauliflower in a food processor until it resembles breadcrumbs. I used a food processor, mainly for convenience but also to save covering my kitchen in cauliflower splinters, as I did the last time I attempted to grate the veg! If using a food processor, add 1 beaten egg white, 50g ground almonds, 40g gluten-free flour (I used quinoa flour) and a little ground black pepper, then whiz until combined (or mix together in a bowl).
Be warned, it won’t resemble traditional pizza dough – it’s more of a paste.


The cooking
There’s no rolling or Italian-style tossing involved with this pizza base – you’ll end up in a sticky mess if you try! Instead, line a baking sheet with baking paper, then dollop the cauliflower mixture in the middle and use a spatula to spread it into a 25–30cm diameter circle. It can be a little tricky to work with, but be patient and you’ll get there. Bake in a hot oven (about 210C/fan190C/gas 6) for 15 min or until golden and starting to crisp at the edge. Flip the base and cook on the other side for 5 min more – I found the best way to do this was to cut another piece of baking paper, lay it on top of the base, then flip it so the new piece of paper is on the bottom (peel away and discard the original piece of baking paper).


Now for the fun part – the toppings. You can add whatever you like, but I chose to spread my pizza base with tomato puree, then scatter over slices of tomato, goat’s cheese, grilled aubergine and parma ham, plus a sprinkling of oregano for seasoning (no need for salt with the saltiness of the cheese and ham!). Pop it back in the oven for 5–7 min to heat through, then serve with a simple salad.


How did I rate it?
The cauliflower crust had a lovely flavour and texture, and wasn’t at all stodgy. It sliced and held together well and left me feeling full, but not bloated.

The down side?
The dough was quite sticky to work with – I had to make sure I didn’t spread it out too thinly as it may have broken when flipped over.